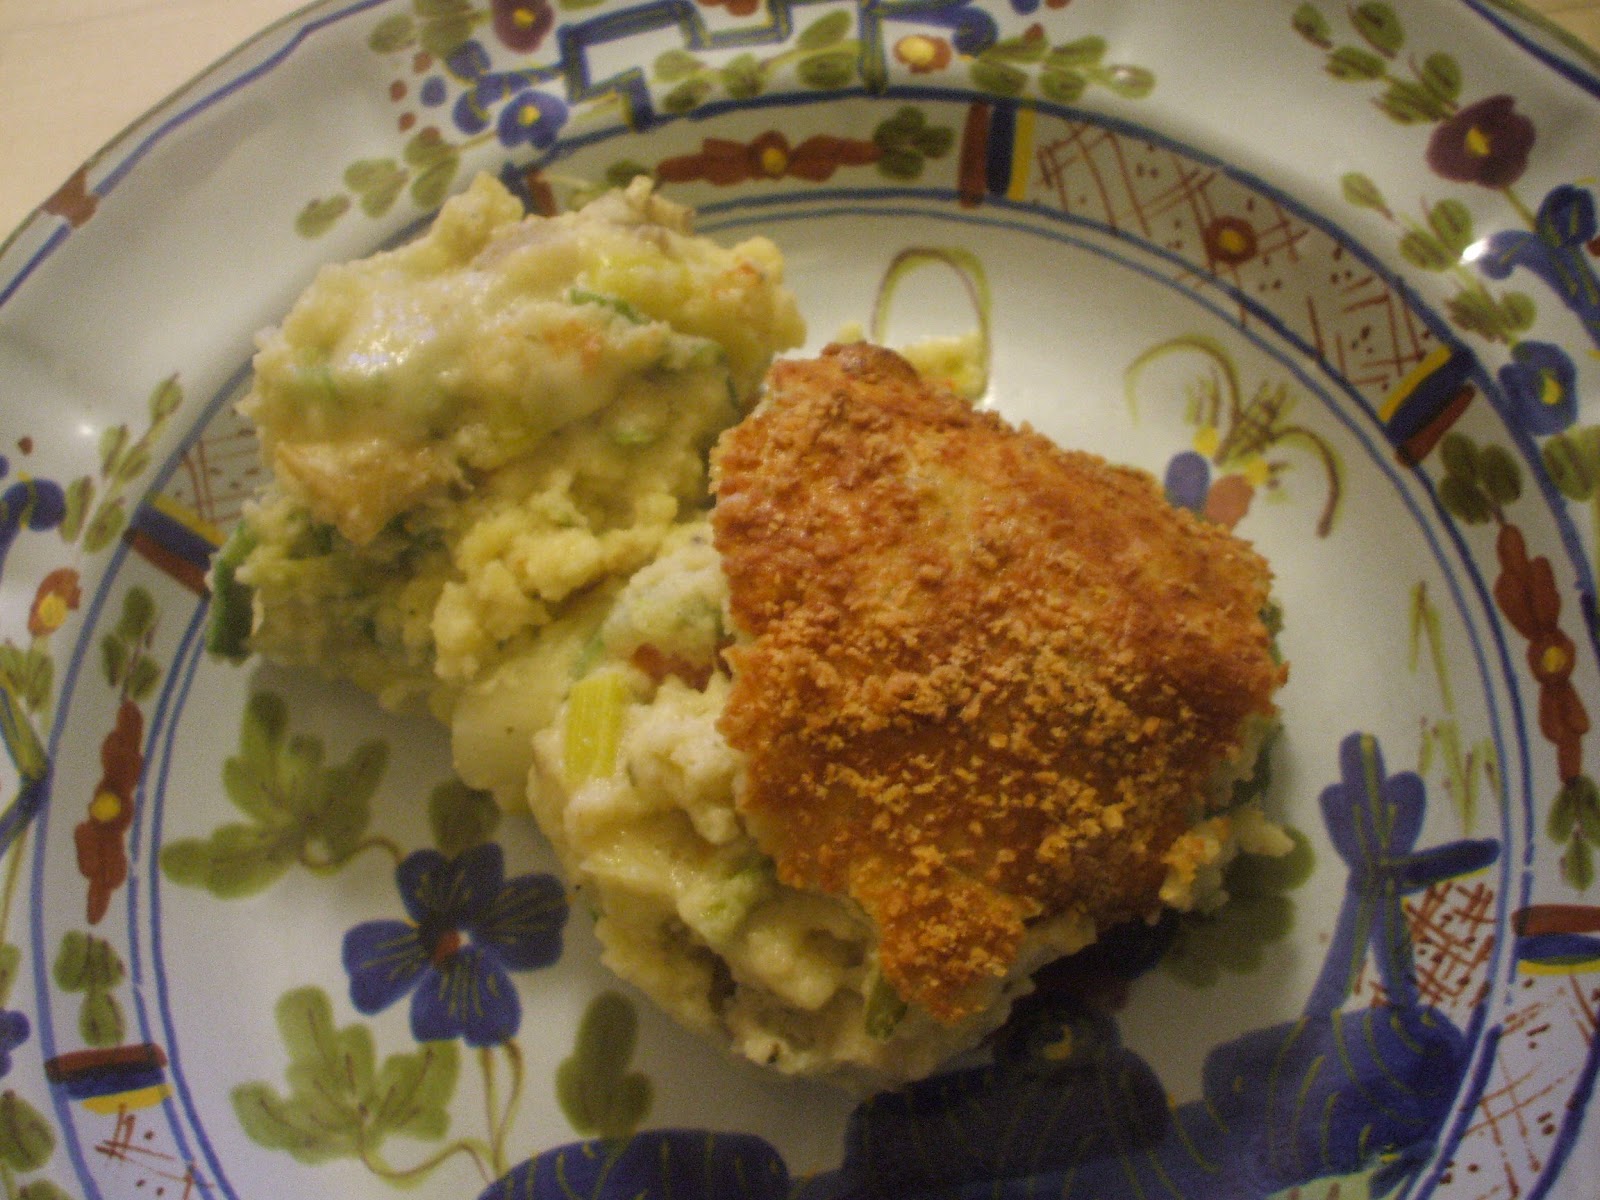
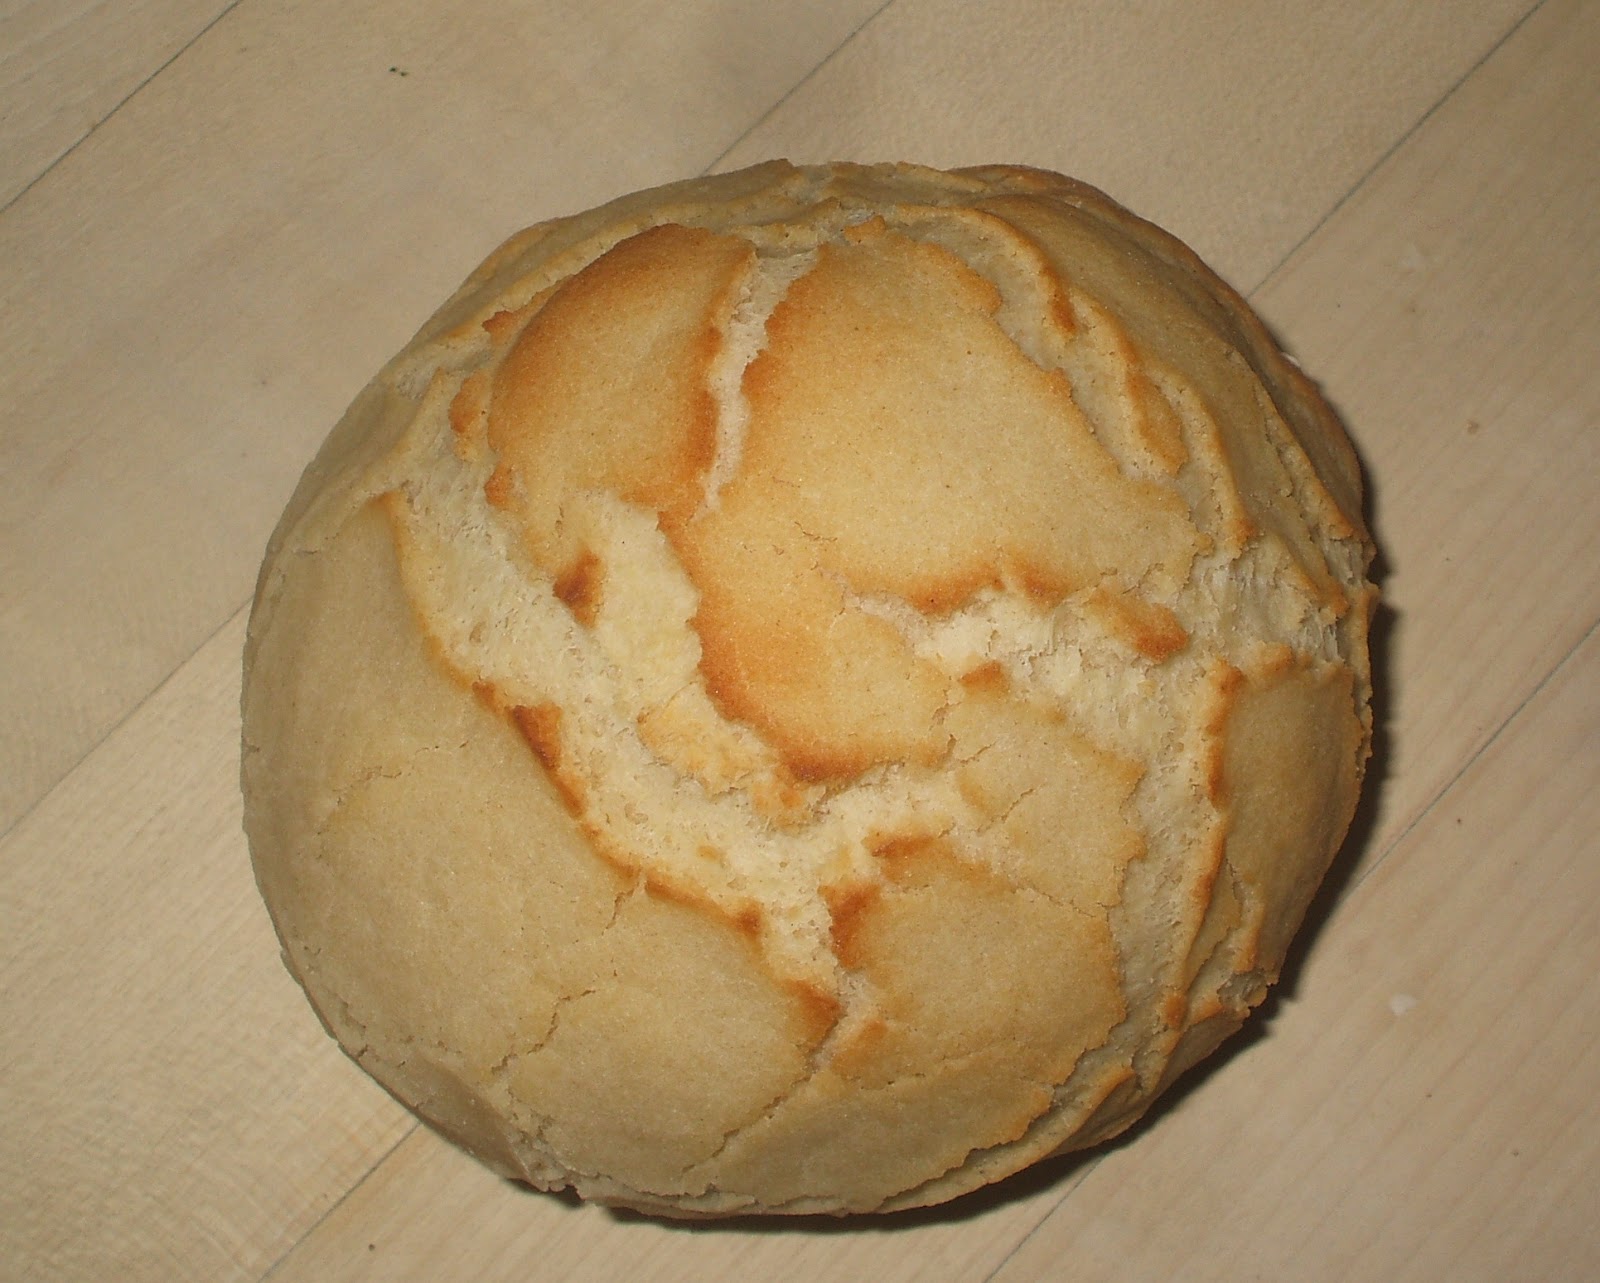
Wednesday, March 28, 2012

Daring Bakers: Dutch Crunch Rolls!

Sara and Erica of Baking JDs were our March 2012 Daring Baker hostesses! Sara & Erica challenged us to make Dutch Crunch bread, a delicious sandwich bread with a unique, crunchy topping. Sara and Erica also challenged us to create a one of a kind sandwich with our bread!


Yummy!


I know what you're probably thinking. Dutch what? Until this month I'd never even heard of this crunchy bread, which is, according to Wiki at least, actually of Dutch origin. In the states, it's supposedly very common in San Francisco, which is funny, as I spent tons of time out here as a kid and live here now and don't remember ever encountering it. Whatever the circumstances, this is a fun and super easy bread to bake, and it comes out looking wonderfully crispy and appealing. The secret is all in the topping, and the secret to the topping is rice flour. 
So, go ahead! Make some bread! Or rolls, as I liked.

As Dutch Crunch bread is typically used for sandwiches, we were encouraged to come up with a filling or two. I think that I'd really enjoy a black bean burger with some sharp cheddar and pico de gallo. The bread itself is pretty plain, so dressing it up with some spicy fillings would be nice. If I still ate meat, I'd honestly probably go for something like turkey.

So, without further adieu, I give you recipes for both the soft white roll I used as my base, and the topping that I spread atop it. I halved both recipes, both because I thought I'd rather start with three rolls in case something went terribly wrong, and because I've been baking a lot of sourdough lately and didn't need the extra bread.


Soft White Roll

Servings: Six sandwich rolls
Ingredients
1 tablespoon (1 packet) active dry yeast
¼ cup warm water (No need to use a thermometer – it should feel between lukewarm and hot to the touch).
1 cup warm milk (105-110º F)
1½ tablespoons sugar
2 tablespoons vegetable oil (plus additional olive or vegetable oil for greasing bowl during rising)
1½ teaspoons salt
Up to 4 cups all purpose flour
Directions:
1. In the bowl of an electric mixer or large mixing bowl, combine yeast, water, milk and sugar. Stir to dissolve and let sit for about 5 minutes (The mixture should start to bubble or foam a bit and smell yeasty).
2. Add in vegetable oil, salt and 2 cups of flour. Using the dough hook attachment or a wooden spoon, mix at medium speed until the dough comes together. 
Rising dough
3. Add remaining flour a quarter cup at time until the dough pulls away from the sides of the bowl, as shown in the photo below (For us, this usually required an additional 1½ to 2 cups of flour).
4. Turn out onto a lightly floured surface and knead for about 4 minutes, until smooth and elastic.
5. Place in a lightly greased bowl and cover with plastic wrap. Let rise for 1 hour, or until doubled (or more) in size 
6. Once the dough has risen, turn it out onto a lightly floured surface and divide it into 6 equal portions (if you’d like to make rolls) or 2 equal portions (if you’d like to make a loaf) (using a sharp knife or a dough scraper works well). Shape each into a ball or loaf and place on a parchment-lined baking sheet (try not to handle the dough too much at this point).
Resting, formed dough
7. Cover with plastic wrap and let rise for 15 minutes while you prepare the topping.
8. Coat the top of each roll or loaf with the topping as described above. While the original recipe recommends letting them stand for 20 minutes after applying the topping, I got better results by putting them directly into the oven.
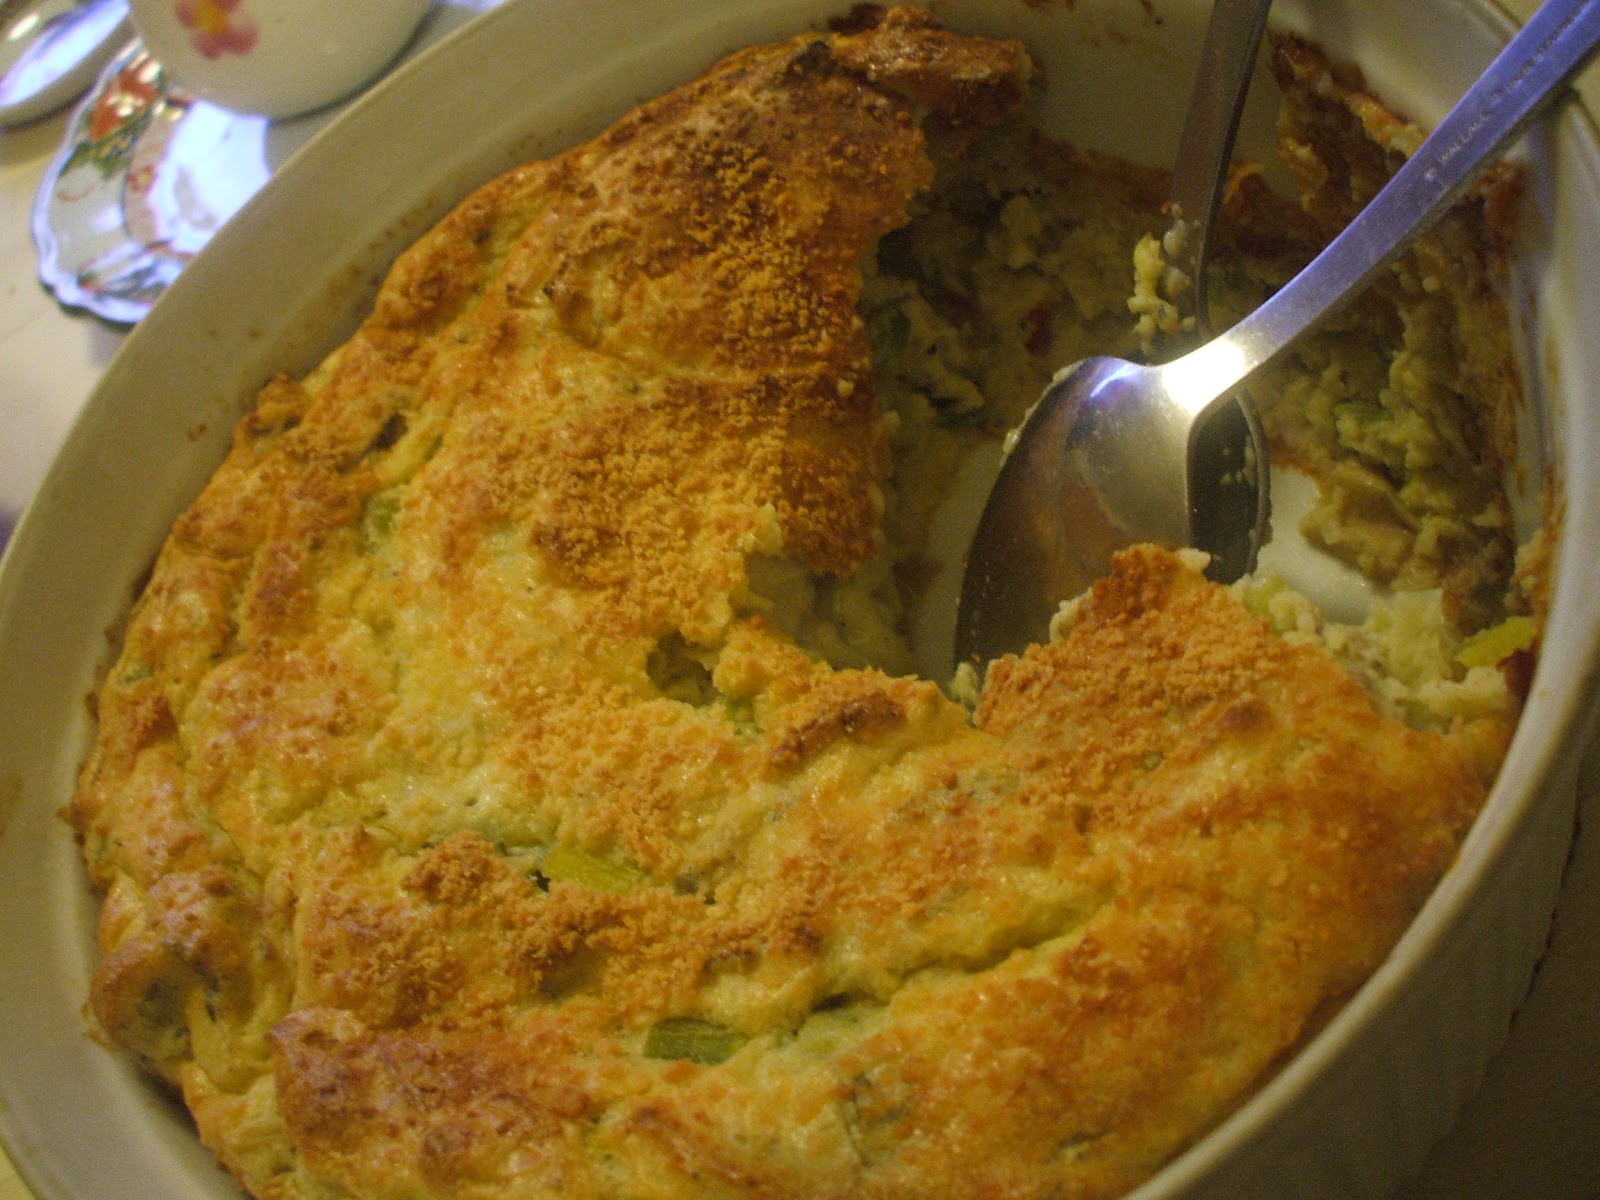
These look like biscuits and gravy to me....
9. Once you’ve applied the topping, bake in a preheated moderately hot 380ºF/190°C/gas mark 5 for 25-30 minutes, until well browned. Let cool completely on a wire rack before eating.


Dutch Crunch Topping (yields enough for 6 rolls)

Do not make this topping ahead of time, but just as you need it - about 15 minutes before you put the bread in the oven.

Ingredients
1 tablespoon (1 packet) active dry yeast
1/2 cup warm water (105-115º F)
1 tablespoon sugar
1 tablespoon vegetable oil
1/4 teaspoon salt
3/4 cup rice flour (white or brown; NOT sweet or glutinous rice flour) (increase to 1 cup or more for home-made rice flour)


Dutch Crunch topping!
Directions:
1. Combine all ingredients in a large bowl and beat with a whisk; beat hard to combine. The consistency should be like stiff royal icing – spreadable, but not too runny. If you pull some up with your whisk, as shown below, it should drip off slowly. Add more water or rice flour as necessary. Let stand 15 minutes.

2. Coat the top of each loaf or roll with a thick layer of topping. The best way is to just use your fingers (or a spoon) to glob it on. You should err on the side of applying too much topping – a thin layer will not crack properly.
3. Let stand, uncovered, for any additional time your recipe recommends. With the Soft White Roll, you can place the rolls directly into the oven after applying the topping.
4. When baking, place pans on a rack in the center of the oven and bake your bread as you ordinarily would. The Dutch Cruch topping should crack and turn a nice golden-brown color.


Monday, March 19, 2012

Leek, Potato, and Mushroom Soufflé

Yes, I know. Soufflés are crazy. They fall. They don't rise to begin with. They don't taste better than quiche and are so much harder to get right! And yet, there is so very much satisfaction to be gained from pulling a soufflé out of the oven with the knowledge that you, little old you, have attained such clichéd kitchen mastery.


Here's a secret: the potatoes help! They create starchy structure that make this particular dish much more likely to stand tall. So, especially if this is your first soufflé adventure, this is a great recipe to use. I based my recipe very closely off of one in last week's NYT: Leek and Potato Soufflé with Ham and Fontina. If you're a meat-eater, by all means try the original recipe; it's probably delicious! Being a vegetarian, I opted to mess around a bit with the ingredients and ended up very happy with the result. Also, I was cooking for two, and in retrospect I think I would have tried to more or less halve the recipe and use a 1 qt. soufflé dish so as to avoid leftovers. The leftovers weren't bad, but it was best fresh.

For this recipe, you'll need two things: a 2 qt. soufflé dish (although a deep casserole dish might work?), and some form of hand beaters (see above) or a mixer to work with the egg whites. I've tried whisking egg whites to stiff peaks before. Believe me, it ain't pretty. I almost never go for working with electronic cooking implements, because I so enjoy the process of doing everything by hand, but if you haven't got one of those handheld beaters (my new favorite kitchen implement, by the way), put the egg whites in the mixer and plug it in.

Ingredients
Oh Trader Joe's. You are just the cutest thing.
Even your potatoes are friendly.
-1.5 lbs preferably yellow-fleshed potatoes, chopped and peeled (if you like)
-about 1 c milk and 1/4 cup cream. Or all milk, or half-and-half, or cream
-salt and pepper to taste
-2 TB butter, divided
-1.5 leeks, split down the center and chopped relatively thinly. 
-1/2 tsp. dried thyme 
-1/2 tsp. dried oregano
-3 minced cloves of garlic
-cayenne to taste
-1/2 red pepper, diced
-3 oz mushrooms, diced
-4 oz. grated cheese (we used a gruyere-cheddar hybrid, but a fontina or swiss could also be nice)
-3 eggs, separated
-a couple TB of grated parmesan


Procedure
1. Boil the potatoes and mash them with the milk or cream and a bit of salt and pepper. Cool slightly
2. Pre-heat the oven to 375°F, coat a 2 qt. soufflé dish with butter and sprinkle the bottom and sides with parmesan.


3. Heat 1.5 TB butter in a skillet over medium heat. Add the leaks, along with some salt and pepper, and cook for about 5 minutes until softened but still very green. Add in the garlic, red pepper, thyme, and oregano and cook for another couple of minutes. Add the leeks mix to the potato mix. 


4. Add the other half TB of butter to the skillet, and saute the mushrooms over medium high heat until they release their liquid and are nicely brown, then stir into the potato mix along with the cheese and a bit of cayenne. Adjust the seasonings, making it a little stronger than you think it should be to make up for the eggs. 
5. Separate the eggs, placing the whites into a medium bowl and mixing the yolks into the potato mixture.  Use your hand beater or electric mixer to peat the egg whites to stiff peaks. Stir 1/3 of the egg whites into the potato mix, and then quickly and gently fold in the other 2/3s. 


                                       soft peaks


stiff peaks

6. Scrape the batter into the soufflé dish and top with grated parmesan.
7. Bake for about 40-50 minutes until nicely browned. Check with a toothpick or skewer, but keep in mind that the potatoes add some moisture that will leave the toothpick looking a bit damp even when it's done--don't assume it's raw egg!


8. Remove carefully from the oven and serve. 

Saturday, March 17, 2012

Irish(-American) Soda Bread!

Happy St. Patrick's Day!

What can I say? I may only possess 1/8 Irish blood, but I'm as excited to celebrate as anyone. I'm not really a "let's go to a bar and drink ourselves silly!" person, unless I'm with particular college friends, but I can wear green, and I can bake Irish Soda Bread.

Now, St. Paddy's, as practiced in the US, is not exactly Irish. Same deal with this bread. When I was little, my best friend's Mom was Irish, and she used to make traditional soda bread with anise seeds. It was good, from what I remember, but it was a bit tough and definitely not a sweet bread. From what I understand, that's what "real" Irish Soda Bread is.

But, well, I'm an American, and when I think really good Irish Soda Bread I think Breadsmith. Breadsmith is a mostly-mid-western bakery chain that happened to have a shop within a stone's throw of my college's freshman and sophomore dorms. On weekends, when the cafeteria didn't open until 10:30 for brunch, and I woke up at 8, I'd often go to Breadsmith and grab a muffin or mini loaf. Every March, they made Irish Soda Bread. And it was sweet and tender and delicious! Irish or "Irish" as it may be, I loved it. It makes a great breakfast or snack, and while you can slather it with butter or jam as you like, I think I like it best plain.

Most of the credit for this copycat recipe goes to Iain, who was kind enough to email me his take. I've made a couple of tiny modifications, but it's basically his. I may try again without the egg and with more buttermilk, as Breadsmith doesn't use any eggs. But yeah, this is super easy, really quick, and really tasty!


(Also, apologies for the lack of prep pictures. I apparently forgot that I was trying to document this.)

Ingredients
-1 cup whole wheat pastry flour
-2/3 cup all-purpose flour
-2 TBL sugar
-1 tsp. baking powder
-1/2 tsp. baking soda
-3/4 tsp. salt
-1/2 cup raisins (dark or golden or a mix)
-1/4 cup chopped, dried apricots
-2/3 cup buttermilk (or soured milk--put 1 TB vinegar for every cup of milk and let sit for 10 minutes)
-1/2 stick butter
-1 egg
-1 TB honey and 1 TB hot water, for glaze


Procedure
This is as easy as it gets, folks. 
1)Pre-heat the oven to 375°F and grease a baking sheet. If you don't have buttermilk on hand, sour your milk so it has time to rest prior to being mixed. 
2)Mix your dry ingredients (flours, sugar, baking powder, baking soda, salt, dried fruit) in a medium bowl. Melt the butter and mix with the egg and buttermilk. If your oven isn't pre-heated yet, wait until it is before proceeding. You don't want the completed dough sitting around before baking or it won't rise as well.
3)Working as quickly and as gently as possible, mix the wet ingredients into the dry until the dries are barely incorporated. Dump this shaggy batter onto the center of the baking tray and use your hands to form it into a roundish lump. If you like, use a sharp knife to slash an X on top. 
4)Bake for about 25 minutes, or until a toothpick comes out clean. 
5) To glaze, mix the water and honey together until a syrup is formed. Using a pastry brush, spread the glaze over the top and down the sides of the cooling bread. 


Monday, March 12, 2012

Broccoli-Tofu Udon with Peanut Sauce

When I lived in rural China, I was shocked to discover that peanut butter didn't exist. Peanuts themselves were plentiful, along with peanut oil, but only in big cities was peanut butter a reasonable grocery list addition. I love peanut butter. My favorite is the kind made from straight up ground, roasted peanuts and salt, but in a pinch I'll take skippy or jiff or the like. In China, I missed not only peanut butter itself but American peanut noodles--the peanut butter and soy sauce-slathered spaghetti dish my parents often threw together on busy school nights. I missed American-Chinese food, and from time to time I tried to recreate it with skippy purchased in the wal-mart three hours away and wheat ramen noodles from my city of Heqing.

Since getting back to the States, I've cooked many American-Chinese kinds of dishes, reconciling my Western palate with the techniques and flavor tendencies I learned in Yunnan. This particular dish is the result of my visit to the Temescal Farmer's Market this morning. I'd been meaning to bike over for awhile, as it's only 10 minutes from my house and runs every Sunday year-round, so I'm glad I finally made it! It's a cute little market with a pleasant, folksy kinda feel. I wandered for a bit and stumbled upon gorgeous broccoli, so I had to pick some up. And when you give an Emily a crown of broccoli... well, it was bound to result in dinner.

As a side note, while the peanut sauce is lovely with this, I think if going for a slightly lighter dish, one could omit it and just dress the tofu/broccoli/noodles with a bit of soy sauce and sesame oil. Also, don't be intimidated by the number of steps! It's all very, very simple, I promise. And stir-fries are incredibly forgiving.

Ingredients (for tofu)
-1/2 package tofu, drained and pressed and cut into 1 inch cubes
-1 TB peanut or vegetable oil
-1 TB sesame oil
-1 clove garlic, minced
-2 TBL flour
-1/4 cup roasted peanuts, crushed
-1 TB sesame seeds
-1 tsp. salt
-dash ground ginger
-dash cayenne


Ingredients (for broccoli)
-about 2 cups chopped broccoli florets and stems
-1/2 inch piece of fresh ginger, peeled and minced
-1 clove garlic, minced
-1/4 cup hot water
-1 medium stalk green garlic, chopped (optional-- if you don't have it use more minced garlic)


Ingredients (for noodles/sauce)
-12 oz udon noodles (or rice noodles, or soba, or, frankly, spaghetti-- whatever you have on hand)
-1/3 cup peanut butter (natural and crunchy is best but anything will work)
-1/3 cup hot water
-1 clove garlic, mined
-1/2 inch piece of fresh ginger, peeled and minced
-1 TB rice vinegar
-2 TB soy sauce
-1 TB sesame oil
-1 tsp salt
-cayenne or chili oil to taste


Procedure
1. Start to cook whatever pasta you're using and leave it alone while you do everything else. 
Tofu just as it's being added-sorry the camera has a yellow tint!
2. Tofu- Just after you've put up the water for pasta, crush the peanuts--I stick them in a plastic bag and whack them with a rolling pin. Mix them on a plate with the flour, sesame seeds, salt, ginger, and cayenne, and then roll the tofu squares around gently so they're at least somewhat coated on all sides. 


Tofu already browned on a couple sides--see the crispiness?

3. Heat a wok or, even better, a wide-bottomed, deep skillet, over medium-high heat. Add the two oils and wait for them to get hot. Cook the garlic for about 30 seconds. Then gently add the tofu, making sure that each chunk makes contact with the bottom of the pan. If you have leftover peanuts from the coating process, you can sprinkle some in or save them for another cooking project. 
4.  Let the tofu sit for a minute or two until the bottom sides begin to crisp, then flip each piece. I use chopsticks for this, but if you have tongs or something that you like better, by all means go for it. Continue to turn the tofu as it browns. When it's nice and crispy, remove it to a plate. Don't clean the wok/pan.
5. Sauce-Make the peanut sauce by combining the sauce ingredients (everything under "noodles/sauce" except for the noodles) in a medium bowl. Amounts here are approximate and made to suit milder tastes than my own, so feel free to add more of anything. I often keep extra chili oil or hot pepper flakes at the table.
4. Broccoli- Add a dash more oil to the wok, if it's dry, let it heat, and then put in the broccoli, ginger, and garlic. Toss around for a minute or two, then add about 1/4 cup of hot water (again, I borrow from the pasta pot) and cover to steam. Give it a stir every minute or so. After about 3 minutes, throw in the green garlic, if using, and give it another couple minutes to cook. I like my broccoli on the crunchy side, but keep it going until it's as soft as you like. 


 5. Turn the heat down to medium low and throw in the tofu, cooked noodles and sauce. Toss around, doing what you can to mix everything together. 
6. Eat up!