When I got back to the States two months ago, I took a few weeks to decompress before beginning job applications, and then, once I did, nothing worked out. I cobbled together a few little things-- a tutoring job and a Hebrew School gig-- but those were more for joy than for money (I was actually under the impression that the Hebrew School would be volunteer until I started teaching). Anyway, after a good month and a half of undesired unemployment, I'd pretty much resigned myself to the fact that none of the places I'd applied for nice part-time work were going to hire me, and I was ok with that. Between my two mini teaching jobs and my volunteer research for the museum, as well as participation in choir, almost daily workouts, and grad school applications, I felt mostly content.
So I was very surprised, an hour ago, when the very first restaurant I applied to called me back. I'm filling out paperwork Monday and starting training Tuesday. I'm a bit nervous, I must admit, about how this is going to affect my mostly-established-and-very-comfortable schedule. What a silly first-world, fortunate problem that is. Man, am I not in China anymore. Heck, I'm not even in unemployed America anymore, or won't be next week. I'll be getting experience as a server on a part-time basis, and I'll still get to do all the fun (and not so fun but necessary) stuff I've gotten involved with. I should be more nervous that I will drop dishes full of food on the people who will be tipping me, I suppose. Anyway, that has very little to do with this.

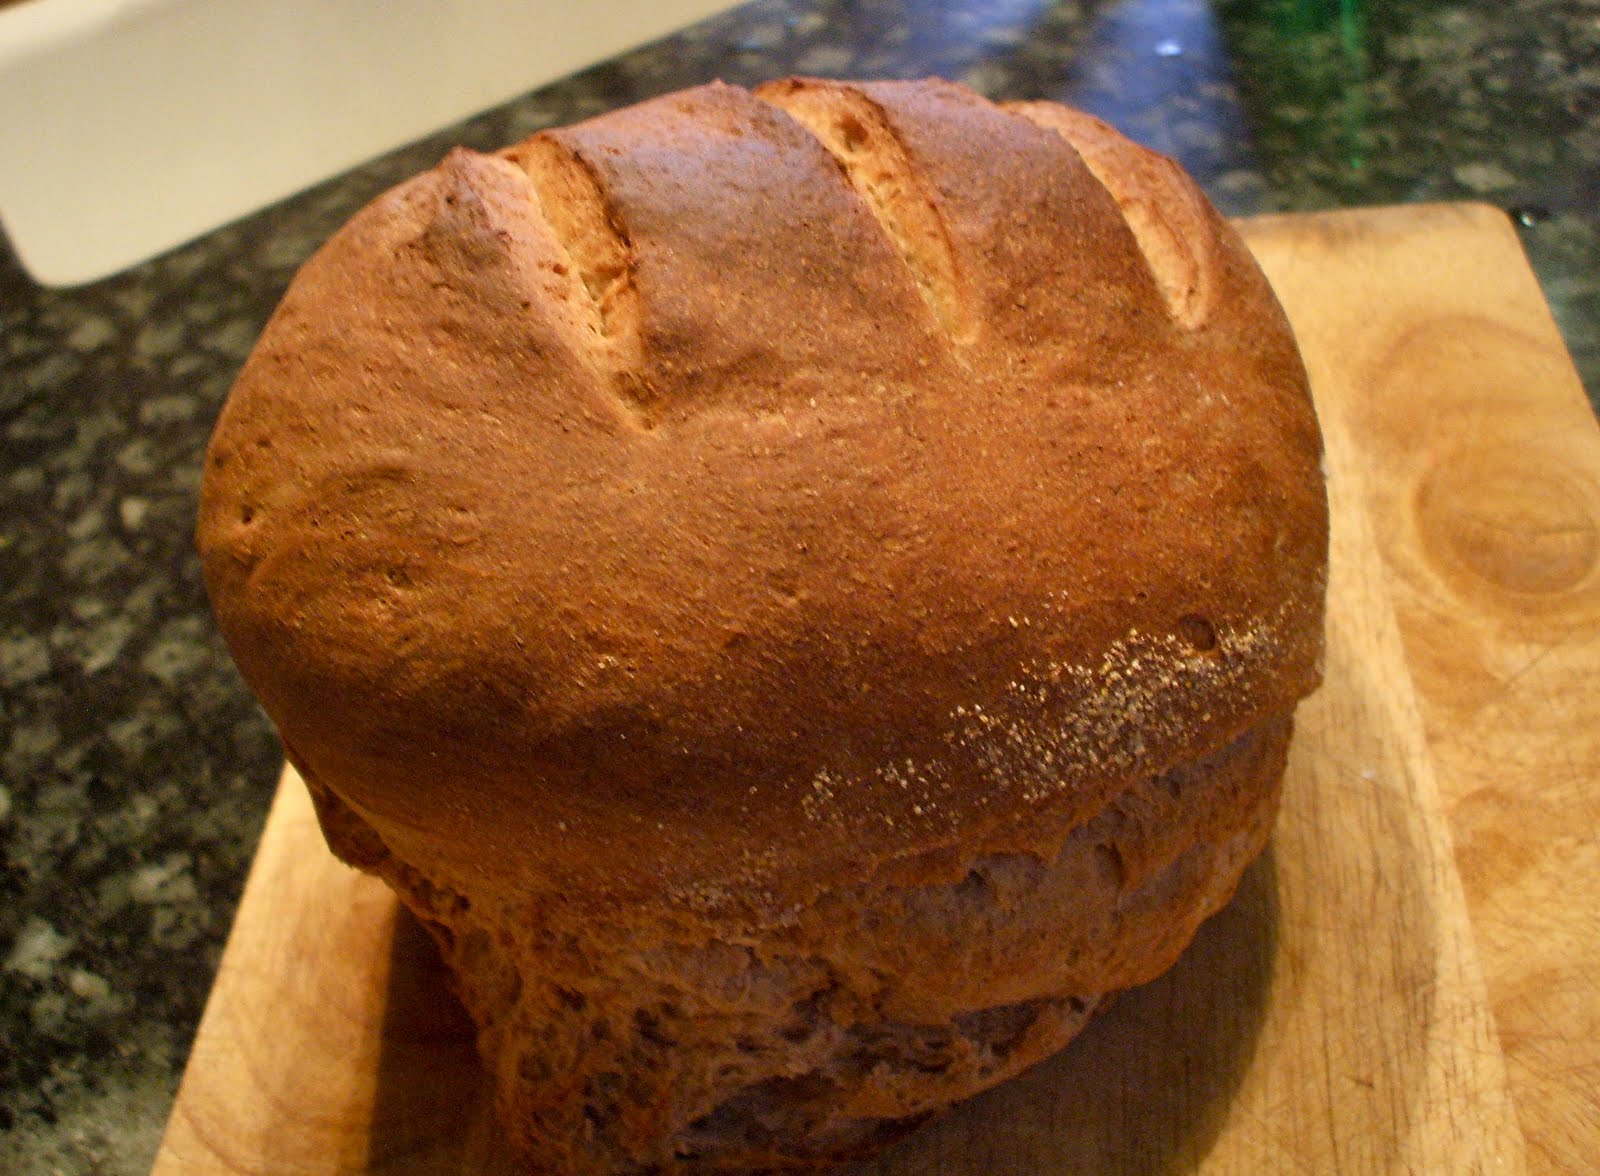
This is what one's hand is prone to look like after kneading challah. But it's worth it, I promise.
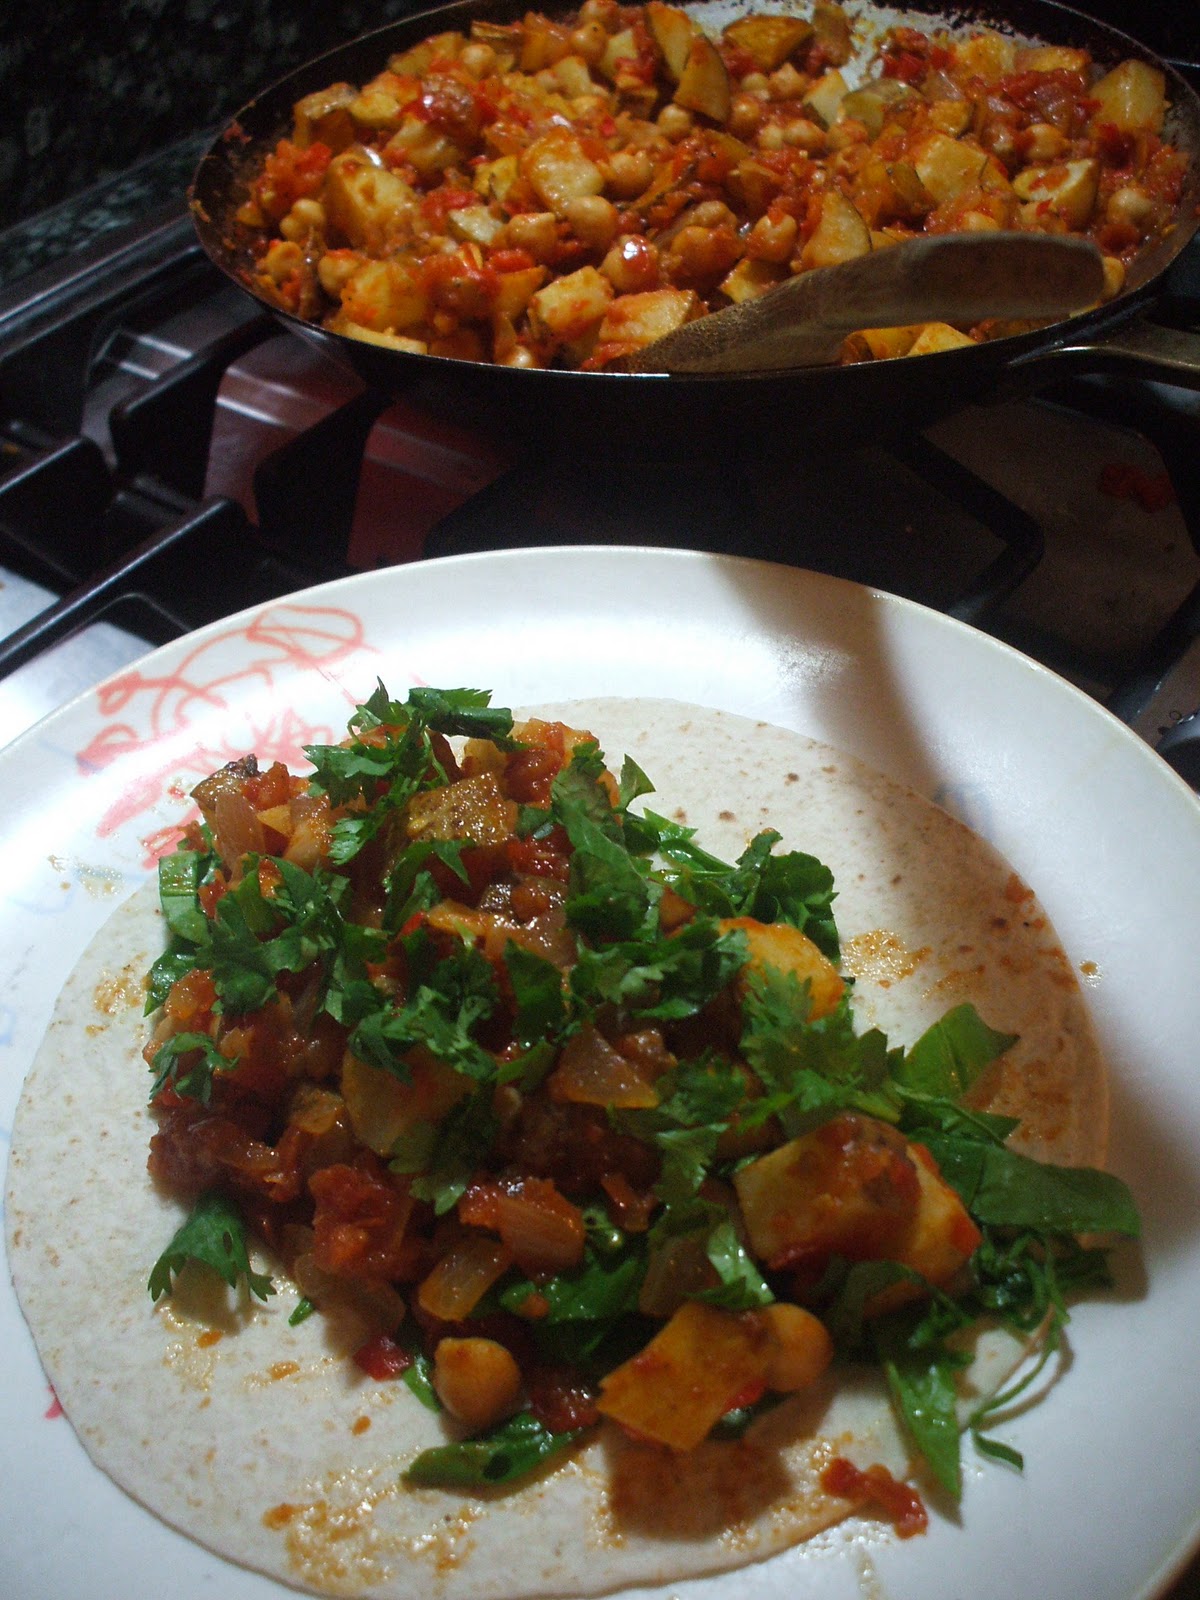
Challah, for the uninitiated, is a traditional Jewish bread. It's a bit on the richer and the sweeter side than one's average loaf, but it's certainly nowhere near scones or muffins or banana bread or anything. It's a dense bread that's delicious plain, wonderful smeared with butter and honey, and stupendous turned into french toast. Challah is often eaten on shabbat, the Jewish Sabbath, which falls every Friday night along with the setting sun. Today happens to mark the first shabbat of autumn and the last before Rosh Hashanah (the Jewish New Year).
My family isn't devoted to a particular recipe. I'm partial to Mollie Katzen's, while my mother prefers...the bread machine book's. I will admit that there are advantages to the bread machine book's, like using the initial mix of orange juice and water, but challah to me just seems the sort of thing that must have a recipe attributable to somebody (preferably a great-great-great grandmother), and the bread machine book doesn't make the cut. Nonetheless, it wouldn't be me if I didn't make some small modifications to the original, so here you go. Emily's challah, mostly courtesy of Mollie Katzen, in all its glory.
Ingredients (for one braid--can be easily doubled)
-1 1/4 cups of wrist-temperature water (or a mix of water and orange juice)
-1.5 tsp. yeast
-2 TBS oil or melted butter (butter is better, I think)
-1/4 c. sugar or honey (honey is oh-so-much better, if available)
-1 egg, plus about half another egg, for glaze
-1.5 tsp. salt
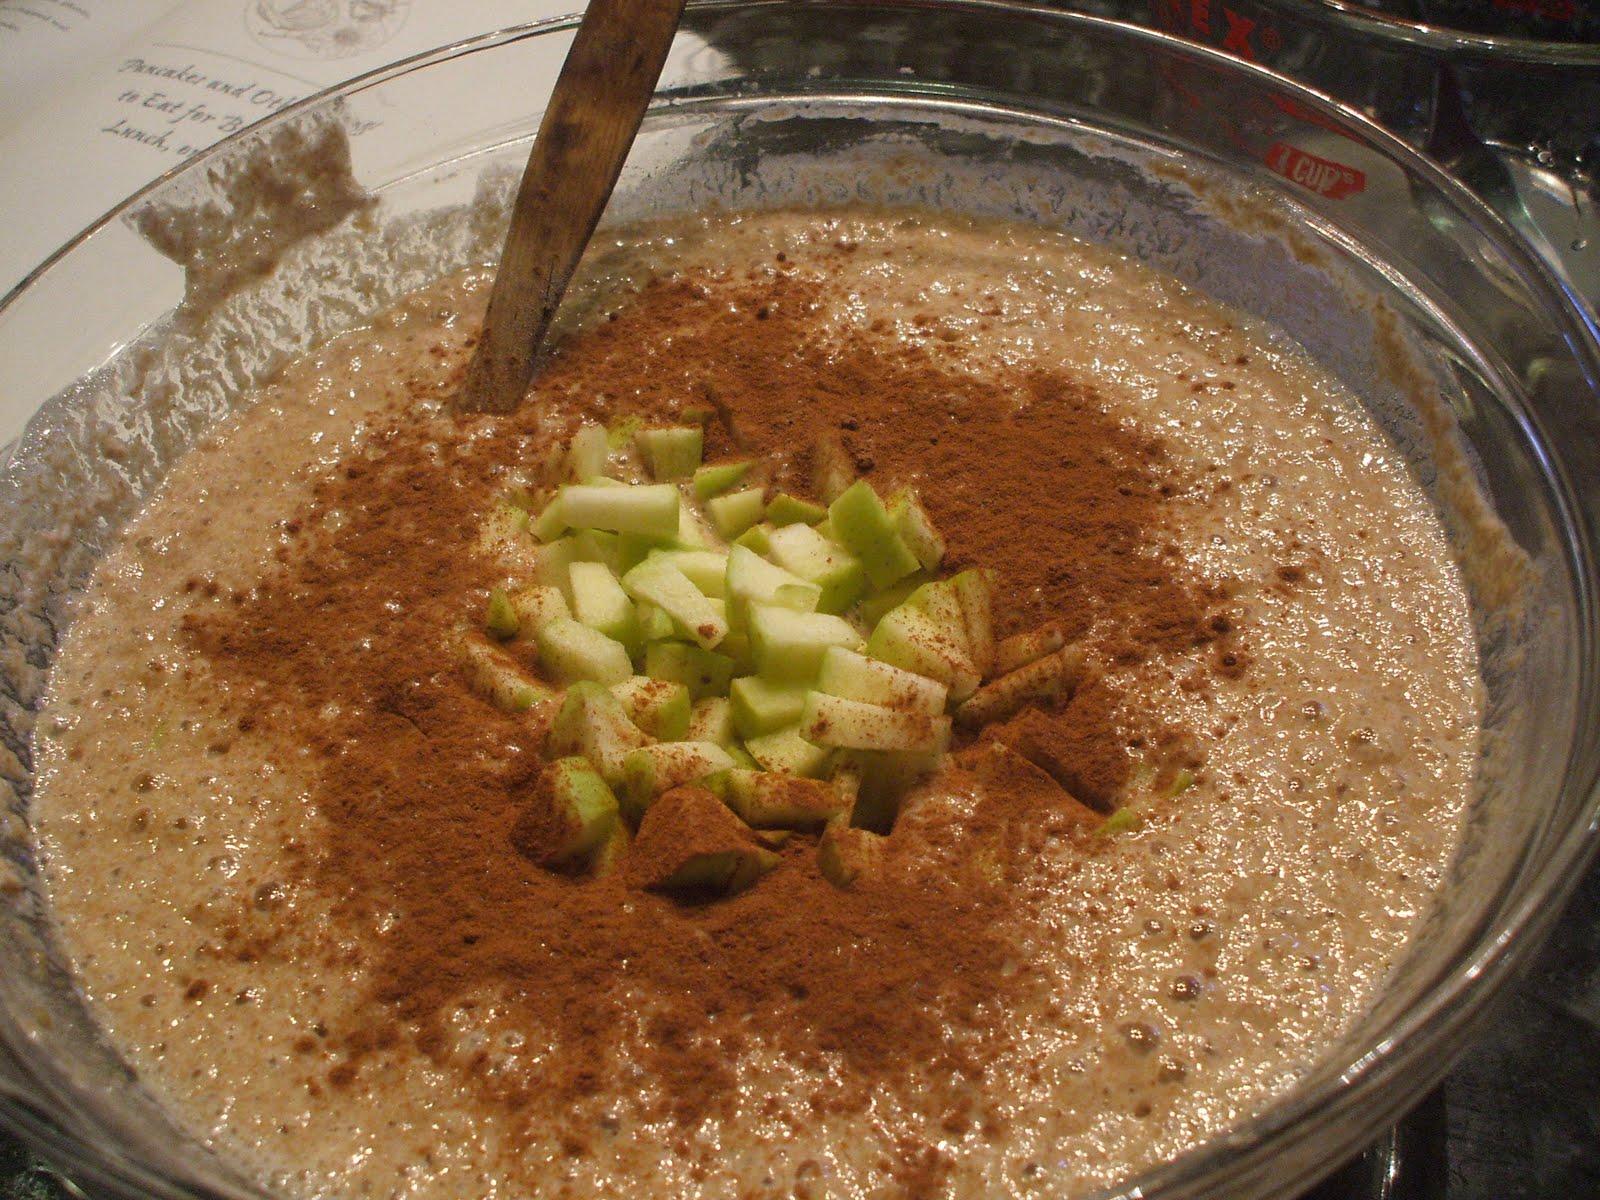
-a dash of cinnamon
-1/4 cup raisins (optional)
-4-5 cups all-purpose flour (can use up to 2 cups whole wheat, if you like, but I usually use only 1 cup, if any)
-poppy or sesame seeds for sprinkling
Procedure
-Put the water into a large bowl and sprinkle in the yeast. Then whisk in the oil or butter, sugar or honey, egg, cinnamon, and salt until nicely blended. If you're using raisins (and I can honestly go either way on that--I did today just because I hadn't for awhile and my sister, who hates them, is away at college), stir them on in.
-Stir in the flour one cup at a time, moving from a whisk to a wooden spoon. When you've added 4 or 5 cups, the dough should be ever-so-slightly sticky. Knead it in the bowl for a few minutes, adding flour as necessary, until it's smooth and elastic. Then wrap it up in saran and let it double. This'll take 1-1.5 hours.
 |
| The challah looked quite happy to be in the world, and so did the green, green grass of the backyard. |


-Pinch the ends of the ropes together. Braiding begins from the middle and stays in the middle. If you know how to braid hair, you're in great shape. Just do that. If not, stick with me here. Take the middle rope, and bring it over the left rope, as in the picture below. Then, take the right rope, and bring it under the new middle rope (the original left rope), as in the second picture below. Then, take the new left rope (the original middle rope), and bring it under the new middle rope (the original right rope). You're basically going under whatever rope happens to be the current middle rope, alternating left to right and back again. But I know that sounds confusing, so I have creating, for your viewing pleasure, my very first food blog video (which has not been at all edited in any way, shape, or form, in case that isn't plainly obvious).


-Once the braid is finished, place it on a greased baking sheet, cover with plastic wrap and a dish towel, and let rise for another hour. Shortly before the hour's up, preheat the oven to 375°F and beat an egg with a pinch of salt (you won't need the whole egg, so plan on omelets for dinner?).
-Before putting the bread in the oven, brush it generously with the egg wash and sprinkle with poppy or sesame seeds. You don't have to do this, strictly speaking, just as you don't have to braid the loaf, but not doing it is kinda akin to not putting lime in a gin and tonic. It just doesn't work as well.
-Bake for 30-45 minutes, depending on your oven, until the loaf is golden-brown and sounds hollow when tapped on the bottom. Cool on a rack.

Shabbat Shalom!